|
I walked in to this with no prior knowledge or experience taking photos and how to. I walked in a took a seat. Mr.Bush (the teacher), started introducing himself to us. He was talking about how he is a cyclist and all the races he has raced in. One time which he said he has gone 50 mph on his bike which insane and must have been scary. Also during a race he said there was a drop off that was 10 feet, ouch. The photo below is Mr.Bush on his bike 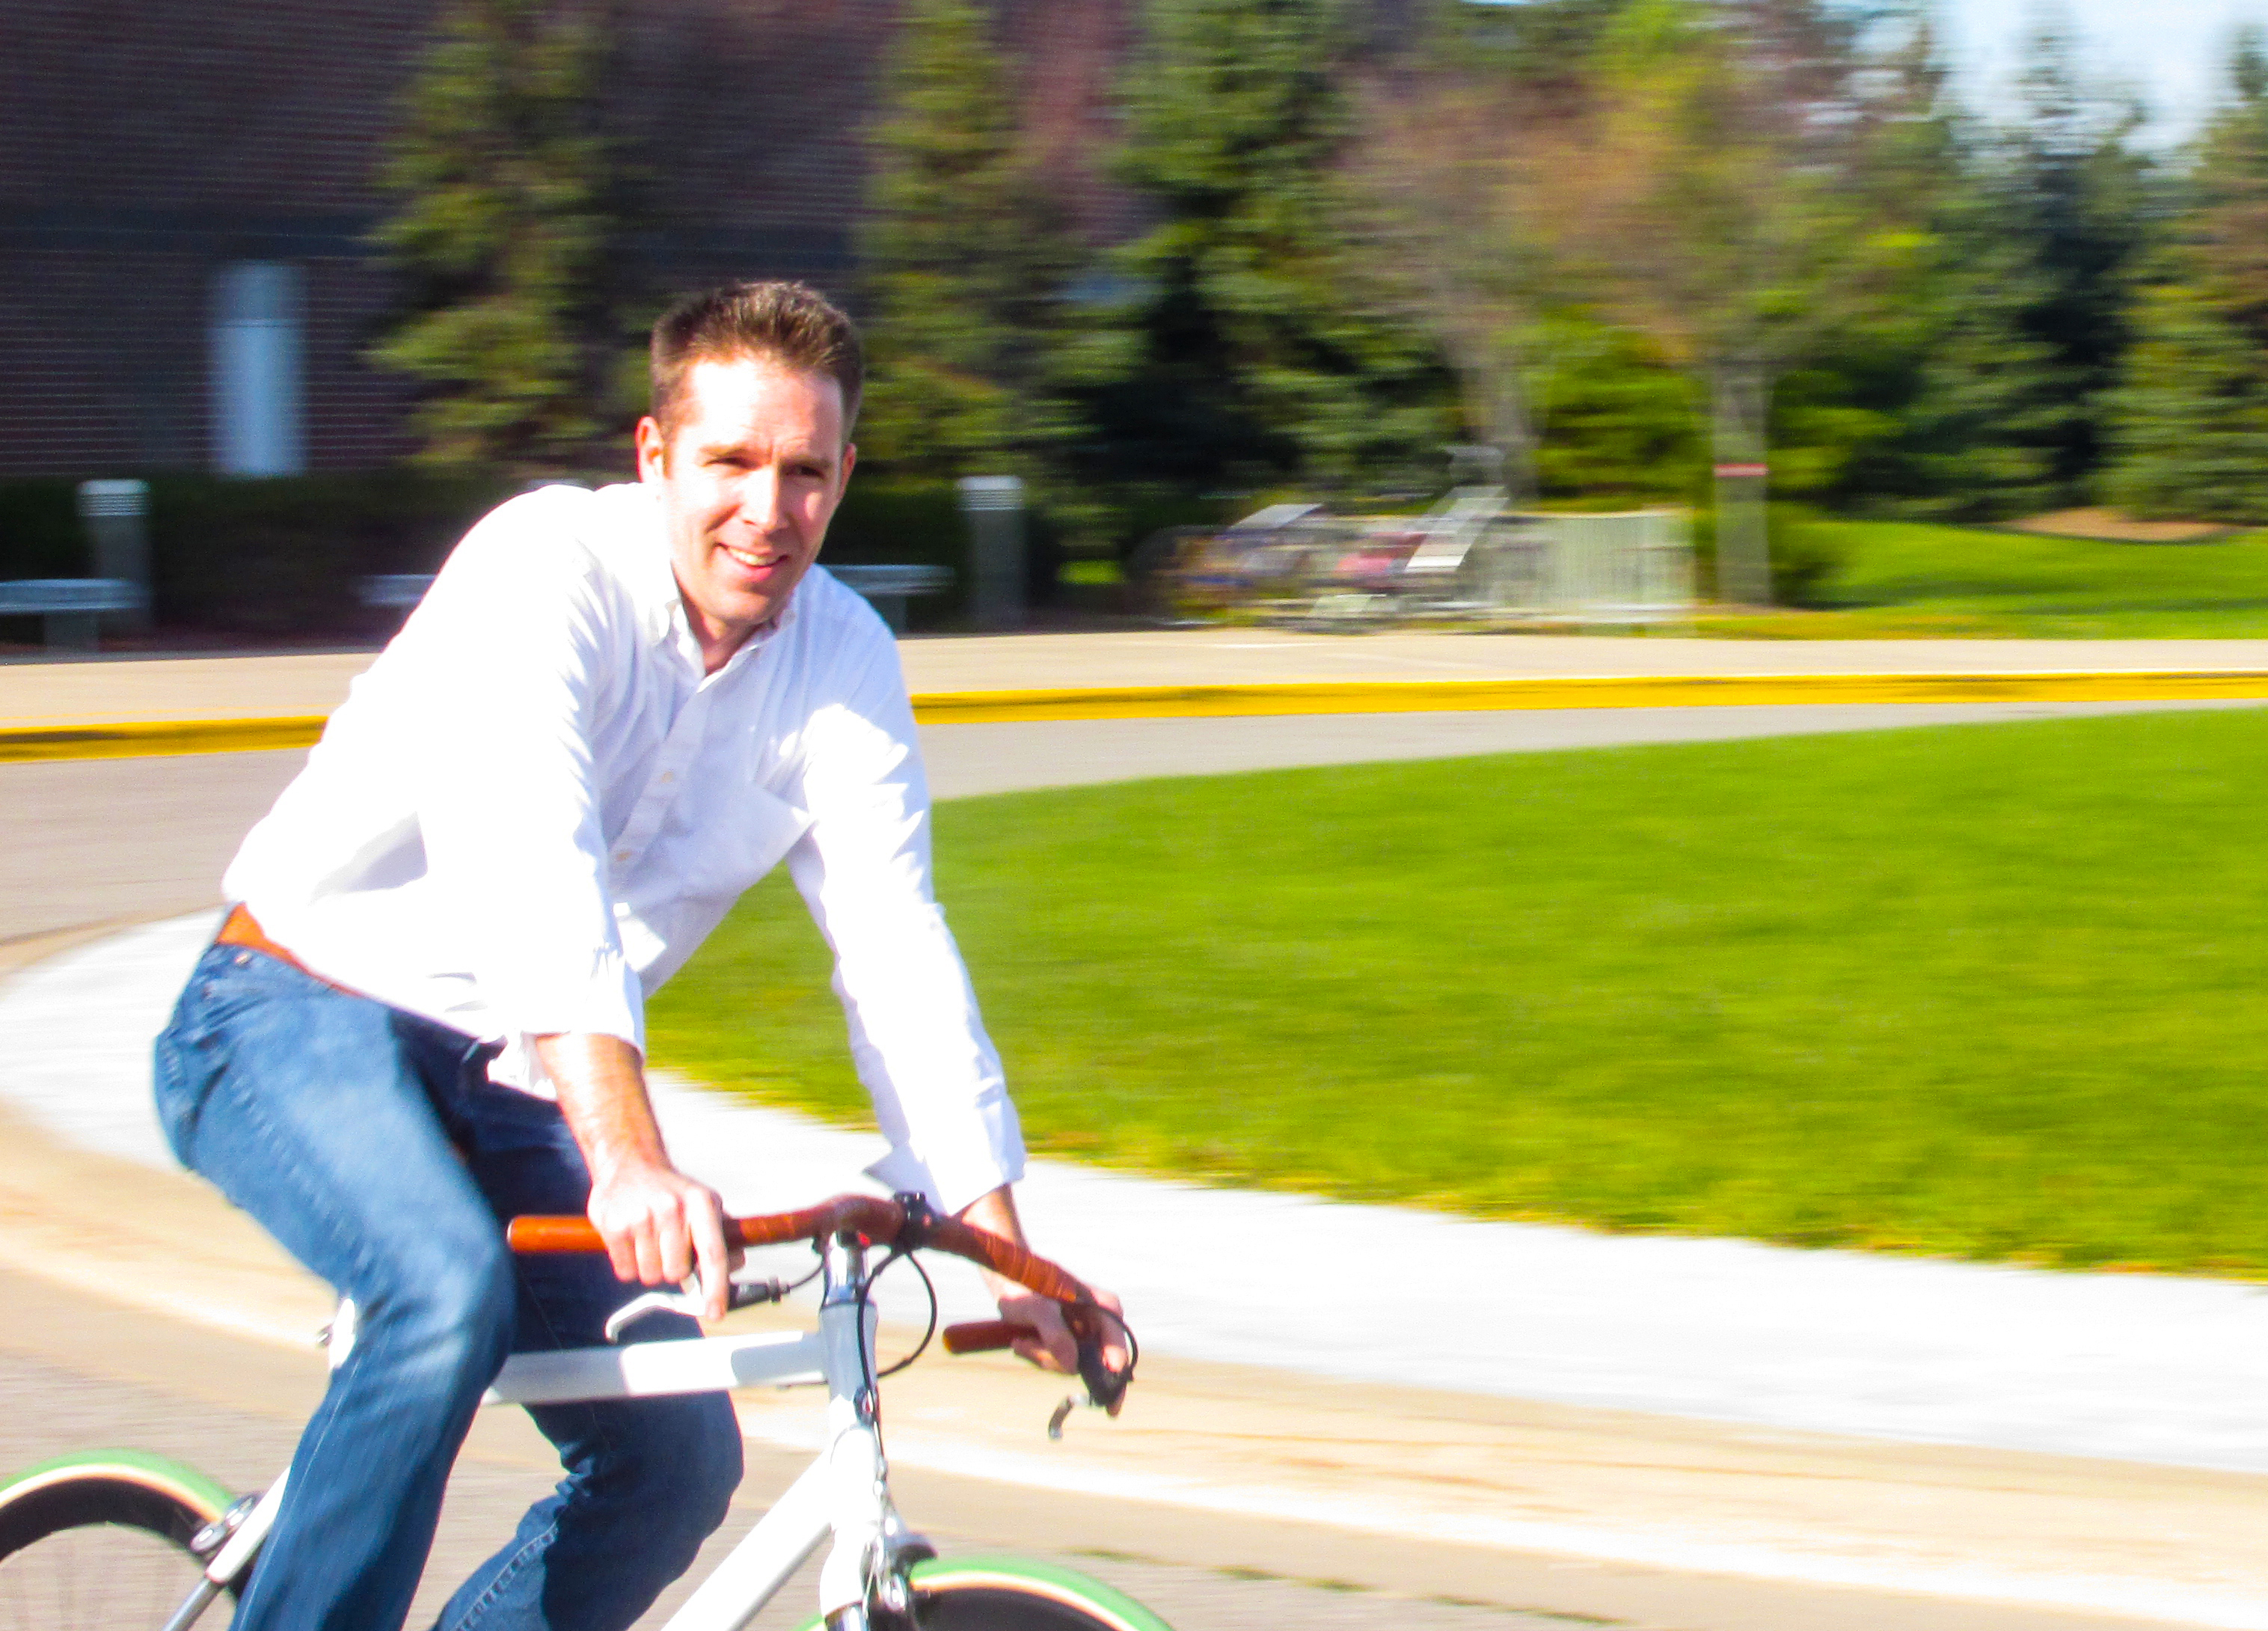 After meeting Mr.Bush we took out the cameras. It was a point shoot, after we had a few minutes to examine it he told us, "Take some photos." This was a photo I took the first day which I consider my worst. I think this is my worst because there is no real subject to focus on and you can't really see the picture because of how blurry it is.  Yeah its bad. But down below is my best photo compared to above which is my worst. I used photoshop to make it stand out and I used a quick shutter speed because it was sunny out and I wanted to make the photo look frozen in time rather than an along exposure.  After taking this class you really have a different prospective on nature. What I mean by this is when you look around you see potential objects and scenes that you can take a picture of. Your eye just notices it and you want to take a photo. Compaired to how I walked in this class I would not have predicted how much information that I was going to learn about photoshop, how to take photos, the different types of photos, and how a camera works.
0 Comments
Today in digital photography we took motion pictures and I learned you need the right setting to capture motion. 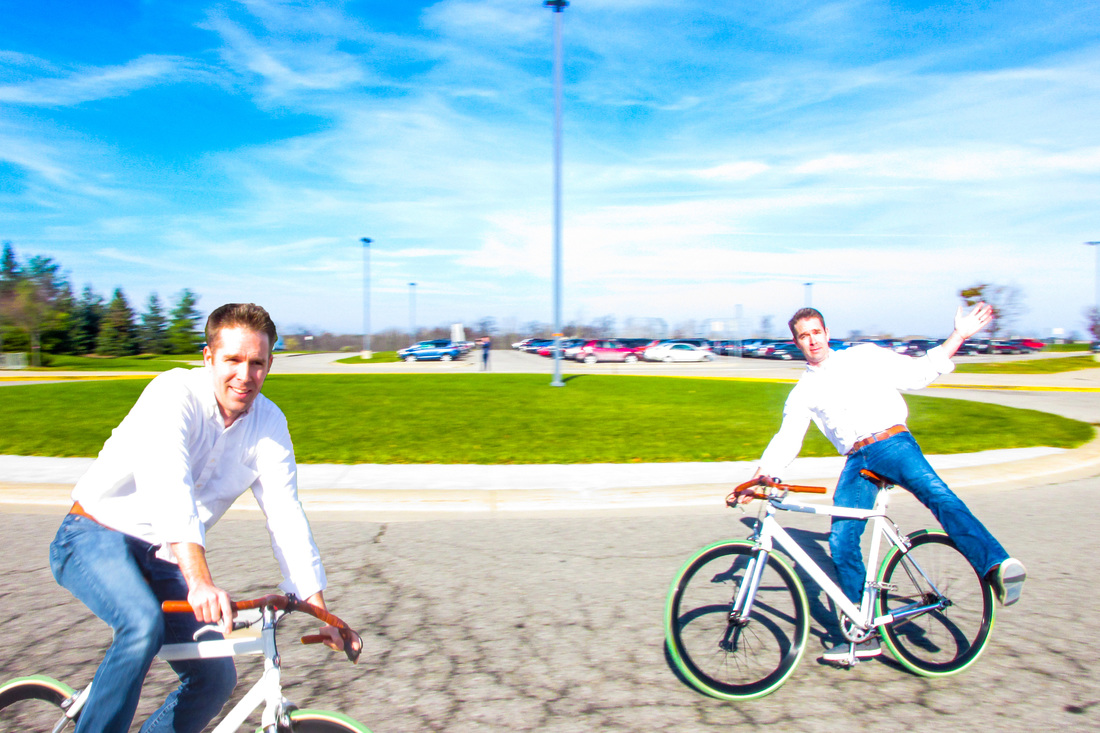 We went around the school and took 3 pictures of people in 3 different positions. I learned to not make it so people overlap over each other. 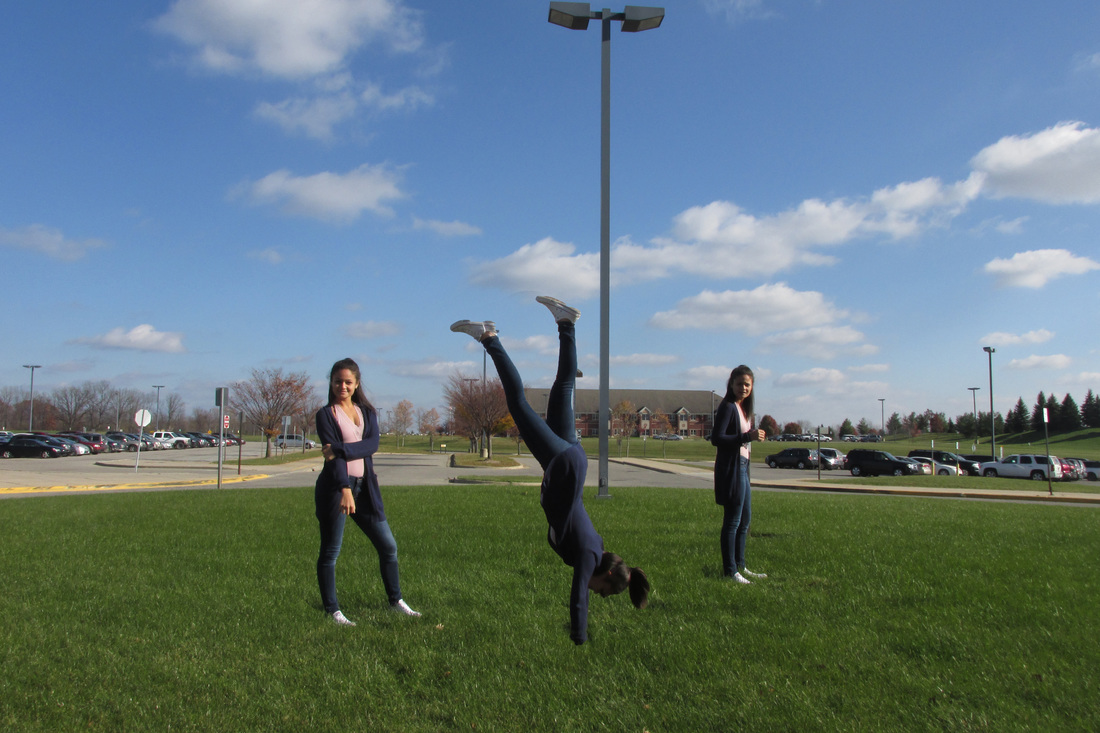 I took a dark room and lights and a long exposure to make these photos happened. I learned that you might need more than one person to help you. For all the photos below I touched up on some exposure and vibrance. 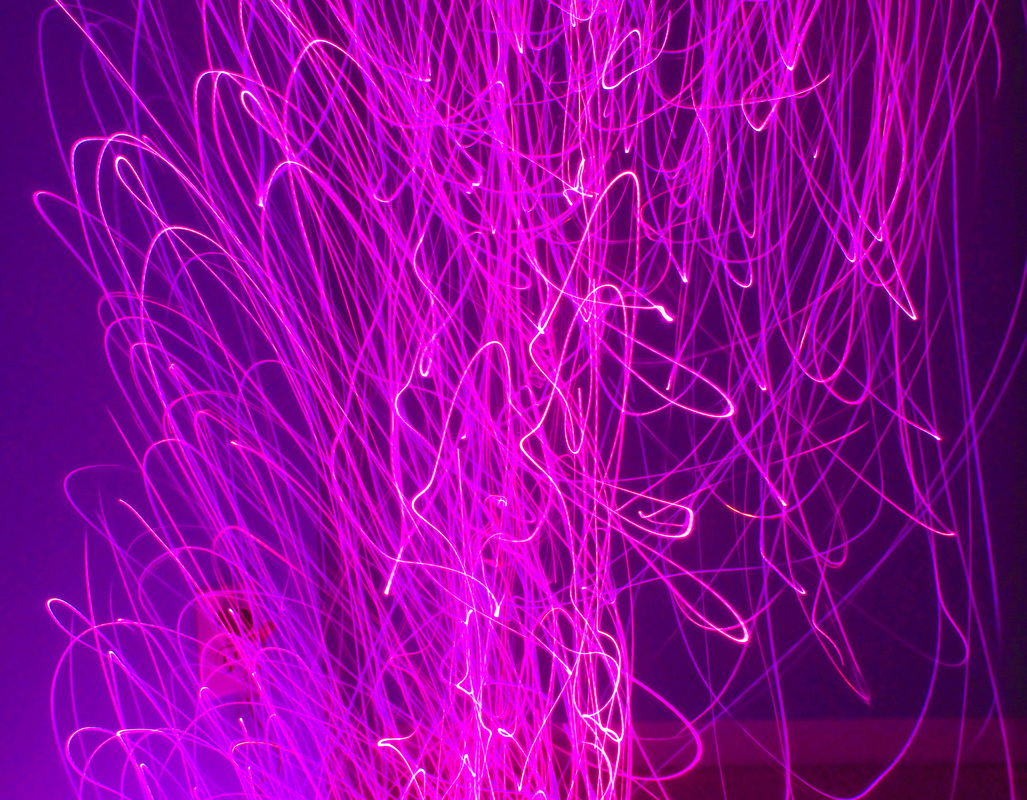 Aperture:8.0, Shutter Speed:10 secs, ISO 100 In class we had the freedom to choose photoshop tutorials online and these are the products from the tutorial 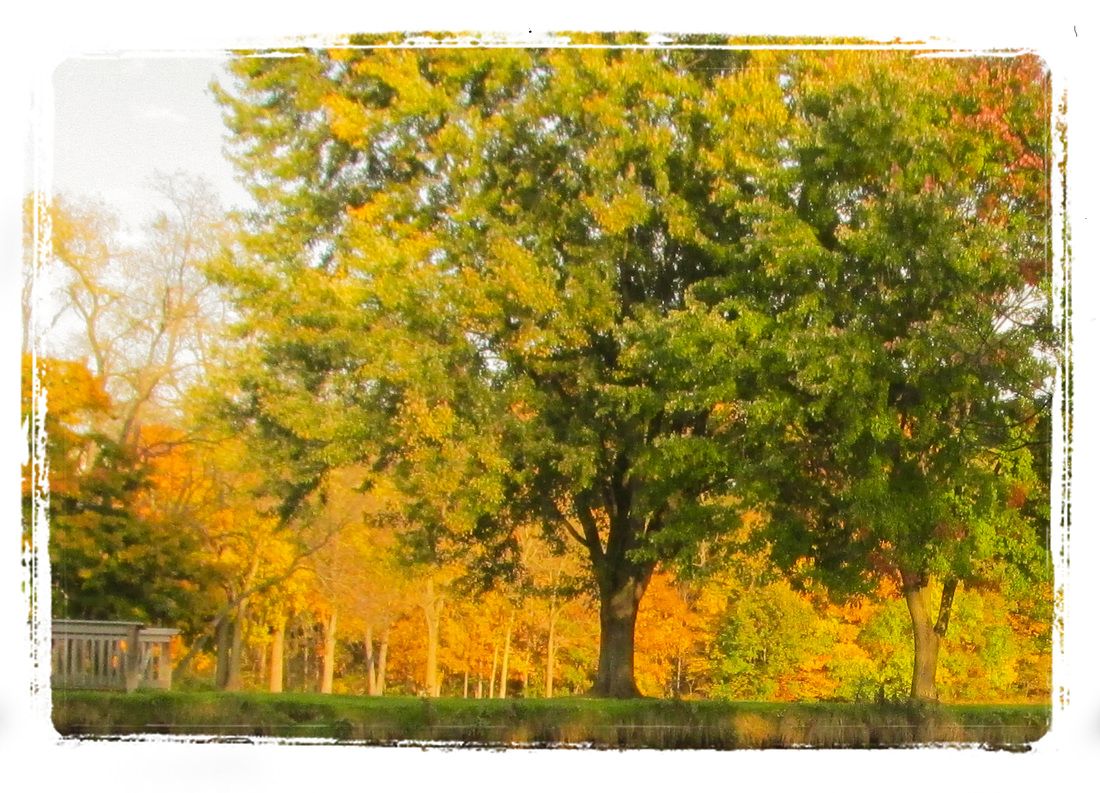 This tutorial was easy to do and a cool way to border your photos. pshero.com/photoshop-tutorials/photo-effects/film-inspired-photo-borders 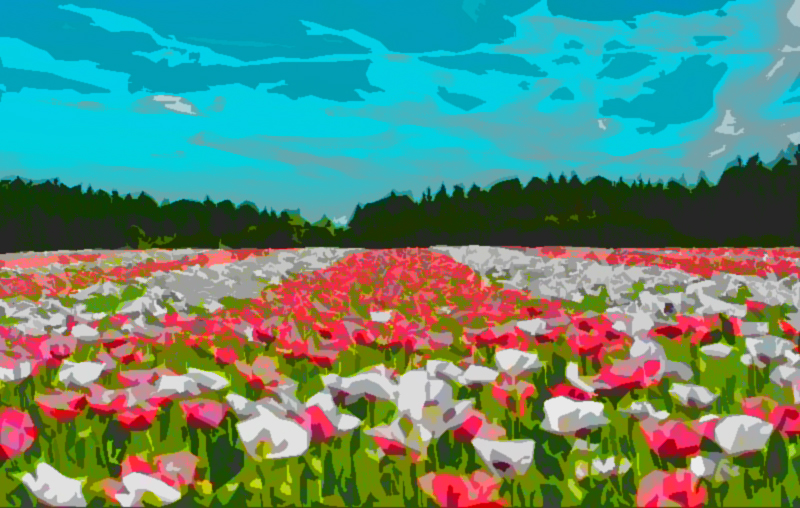 This tutorial was easy to follow and took some problem solving to do it. www.photoshopessentials.com/photo-effects/watercolor-painting/
We had to go around school campus and look for a setting to make come alive and let your imagination flow. 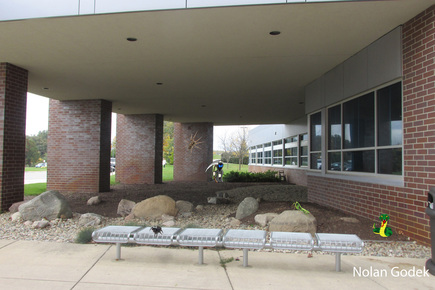 ISO 125, Aperture 4.0, and Shutter speed 1/100. With additional changes of the fake animals
This week I had to take pictures of still life. This is not my best work because I did not have the right light requirements  ISO 100, Shutter Speed 1/60, and Aperture 3.5. I changed up the vibrance for editing. For these photos I touched up on the contrast and vibrance.
For this assignment we had to take 5 panoramic photos. You need to take 3 photos of the object at different angles and use photoshop to add them together. Below is my work This week I took photos and edited them to make them black and white. Some of the photos I took looked bad in color but good in black and white. 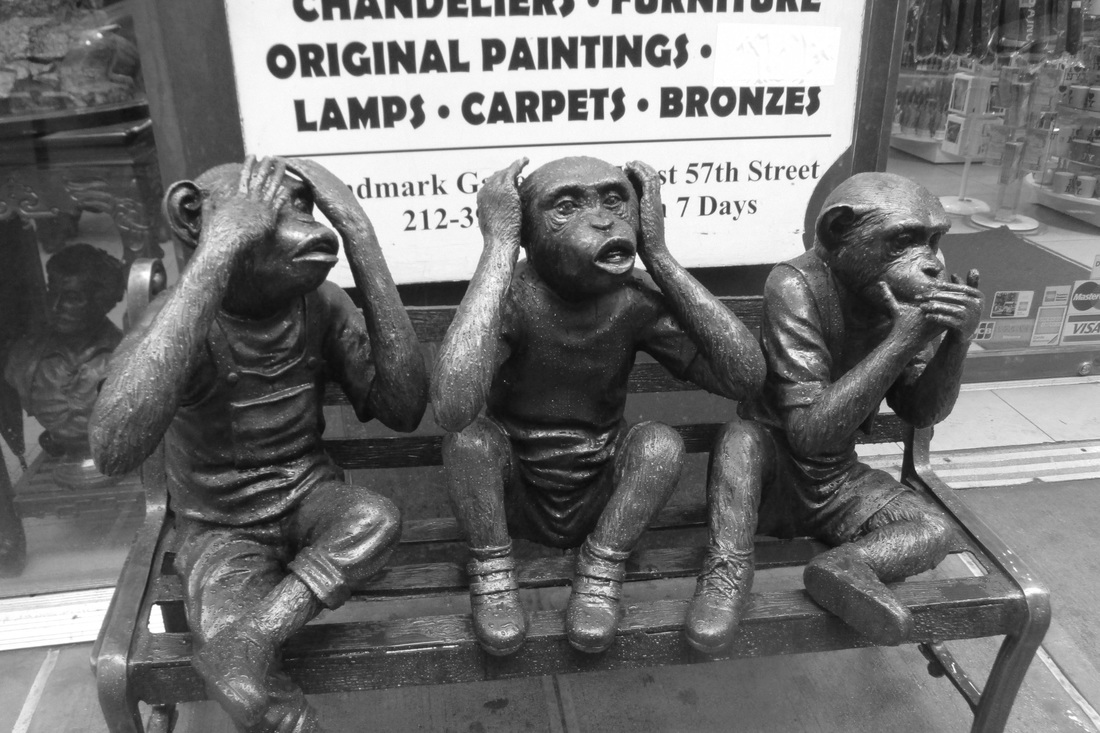 ISO-500 Aperture-3.5 Shutter Speed-1/20 All the photos in the slide show I edited to black and white.
Today we had the challenge to take two types of portraits. One that used sunlight coming through a window. Second we used professional lighting. 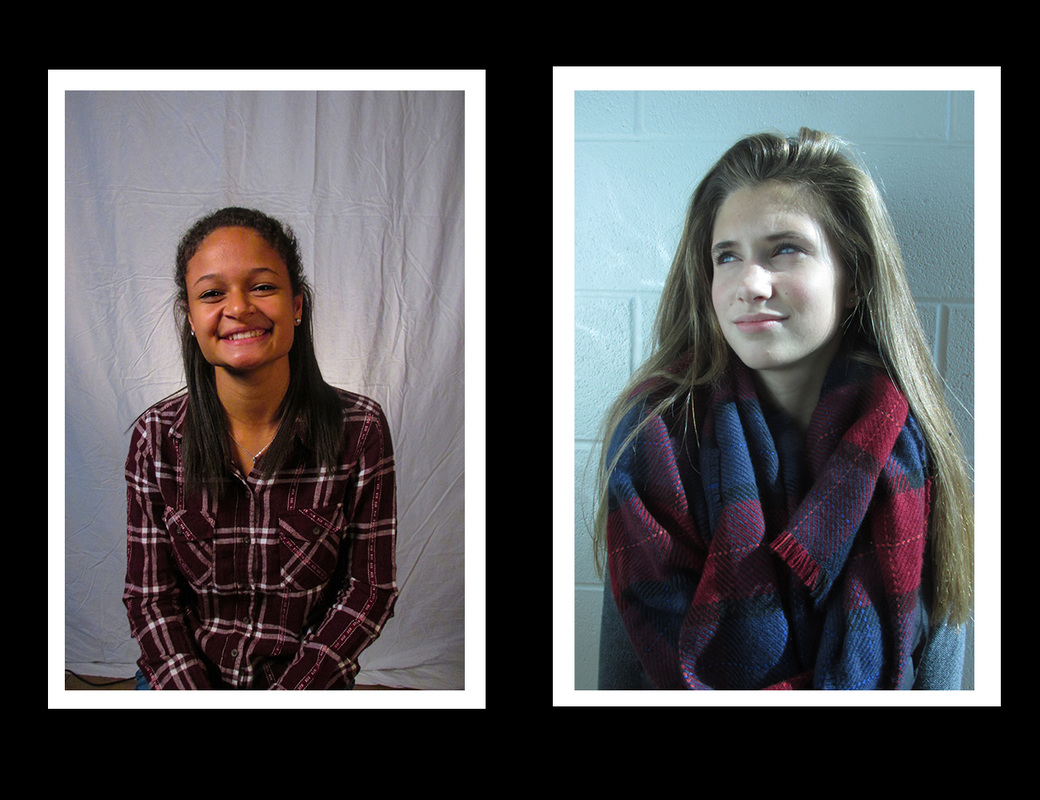 |
 RSS Feed
